In 1965 Fred Mendel donated 13 paintings to Remai Modern’s predecessor the Mendel Art Gallery, initiating a collection that now numbers more than 8,000 works. One of those paintings, Lawren Harris’s Untitled (mountains near Jasper), is among the museum’s most beloved works.
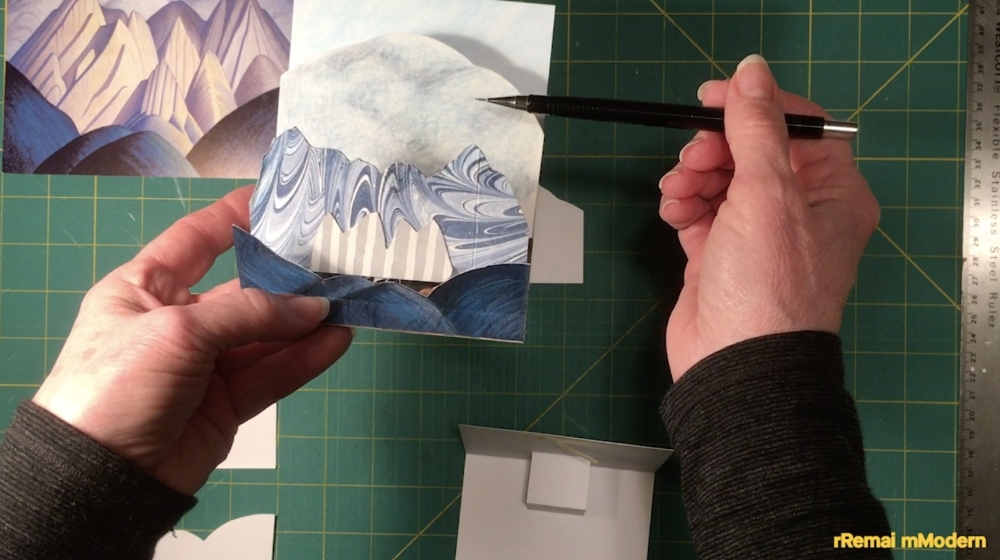
This pop-up card is inspired by that work, with a background of sky and a few wispy clouds. The middle ground is a bank of billowing clouds behind triangular snowy mountains. The foreground is low, rounded, foothills. The sample in the photo has four separate pictures (sky, clouds, mountains, foothills), assembled one in front of the other so it looks three-dimensional.
Lawren Stewart Harris CC LL. D. (October 23, 1885 – January 29, 1970) was a Canadian painter, best known as a leading member of the Group of Seven. He played a key role as a catalyst in Canadian art and as a visionary in Canadian landscape art.
• Thin cardboard (old greeting cards work well, or lightweight food boxes)
• Drawing materials (markers, pencil crayons, oil pastels, crayon)
• Glue (glue stick works best)
• Tape (in small loops if you have no glue)
• Coloured papers (scraps of wrapping paper, magazines, calendars, tissue paper, old art projects)
Pop-up Card: Cut one piece of cardboard to fold in half for the card; one half of this will be the base, and the other half will be the sky. Fold the card in half and on the folded edge, make two parallel cuts through both layers of cardboard, as in the picture. These don’t have to be super precise. This card is about 4×7 inches when it’s opened flat, and the cuts are about one inch high and one inch apart.
Sky: Open the card out flat and create your sky, applying colour or collage. Create the pop-up by partially folding the card. Gently push and pull the cutout section forward to create a little shelf (sometimes this part is a little bit tricky). Add an “x” to the surface where you’ll glue the cloud picture.
Clouds: Cut another piece of cardboard as wide as the card. Notice that the cloud picture is shorter than the sky. Also, notice that the top of the cloud picture is the shape of the clouds, but the bottom of the picture is still the shape of the card. Draw the clouds and apply colour or collage. Apply glue to the front of the shelf (where the “x” is in the previous photo), and with the card folded so the shelf is in the popped out position, stand your clouds against the glue and press into place. Make sure the bottom edge of the cloud picture is just sitting on the base.
Mountains: Notice that the mountains are lower than the clouds. When you cut the size of cardboard you need for the mountains, make sure you make it big enough for the folded bit where it’s glued onto the base. Draw the mountains and apply colour or collage. The grey- and white-striped mountains visible in the finished card were added later. Fold back a strip about one-third of an inch wide along the bottom edge of the mountain picture. Scoring this line first will make it easier to fold. Apply glue along the folded base, position the mountain picture where you like it and press it in place. Clamping it with clothespins or binder clips while it dries will help it to attach more securely. Foothills: in the photo of the finished card, notice that the foothills are shorter than the mountains. Cut the size of card you need for the foothills, allowing about one-third of an inch extra for the folded strip for glueing. Draw the foothills and apply colour or collage. Apply glue to the folded strip, position the foothills on the base and press, clamping while the glue dries.
